Guide: Managing Your Standupify Check-in Settings
Standupify's Check-ins section provides powerful tools to customize and manage your team's daily reports, retrospectives, and other check-ins. This guide will walk you through the steps to configure questions, manage notifications, and review responses for your specific team check-ins.
-
Navigate to the Check-ins Dashboard
Open the Standupify web application and click on the 'Check-ins' tab in the top navigation bar. This will display a list of all active and deactivated check-ins, organized by team.
-
Identify the Check-in to Manage
Locate the specific check-in card you wish to manage (e.g., 'Daily Report' for your 'Marketing' team). Each card shows its status ('Active' or 'Deactivated'), start date, and 'Next Run' time.
-
Access Check-in Options
On the desired check-in card, click the 'More options' icon, represented by three horizontal dots (
...). This will reveal a dropdown menu with several configuration options. -
Configure Specific Check-in Aspects
From the dropdown menu, select the option corresponding to the aspect you want to manage:
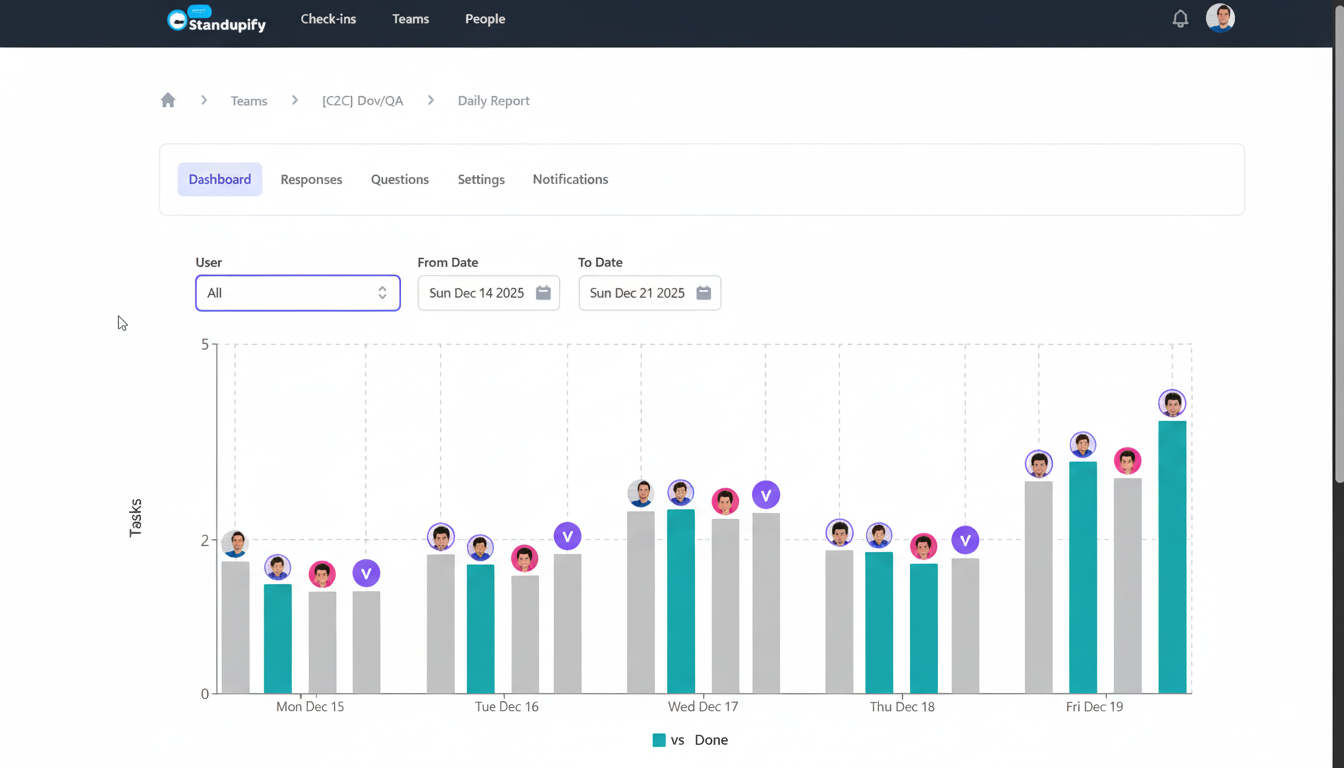
- Dashboard: Select this to view a summary of the check-in's performance, including response rates and upcoming schedules. This is useful for a quick overview of team participation.
- Responses: Choose this option to review the detailed replies submitted by your team members. You can see individual responses to questions like "What did you do yesterday?" or "What are your blockers?"
- Questions: Click here to customize the prompts your team receives. You can edit existing questions or add new ones, such as:
- "What did you do yesterday?"
- "What will you do today?"
- "Are there any blockers?"
Tailoring these questions ensures your check-ins gather the most relevant information for your team.
- Settings: Use this option for general configuration of the check-in, including its schedule, participants, and other operational parameters. Here you can also configure reminders for team members.
- Notifications: Manage how and when notifications related to this specific check-in are sent. This allows you to ensure team members are reminded to complete their check-ins without being overwhelmed.
-
Save Your Changes
After making any adjustments within the 'Questions', 'Settings', or 'Notifications' sections, ensure you save your changes to apply them to the check-in.
By following these steps, you can efficiently manage and customize your Standupify check-ins to perfectly fit your team's workflow, fostering better communication and project alignment.
Frequently asked questions
How do I customize the questions asked in a daily standup?
On the check-in card, click the 'More options' icon (three dots), then select 'Questions'. Here you can edit existing prompts like 'What did you do yesterday?' or 'What will you do today?', and add new questions, including those for blockers.
How can I view individual or summarized responses for a team check-in?
From the check-in card's 'More options' menu, select 'Responses' to see detailed replies from team members. For a summary, choose 'Dashboard' to view participation rates and aggregated insights.
How do I manage notifications and settings for a recurring check-in?
Click the 'More options' icon on the check-in card. Select 'Notifications' to configure how and when alerts are sent, or 'Settings' for general configurations like scheduling and participant management, including reminders.
Can I activate or deactivate a check-in?
Yes, within the 'Settings' option for a specific check-in, you will find controls to activate or deactivate the check-in, allowing you to pause or resume its operation as needed.